2026 How to Install a Plastic Thatch Roof for Your Home?
In recent years, the popularity of the Plastic Thatch Roof has surged. This trend is backed by data from the Global Roof Materials Market Report, which shows a 15% annual growth rate in sustainable roofing materials. Homeowners are increasingly seeking alternatives to traditional roofs that offer aesthetic appeal and durability.
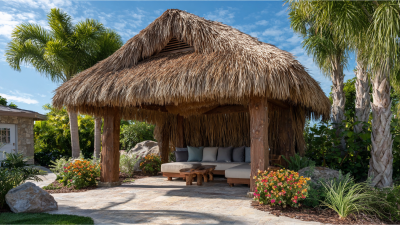
The Plastic Thatch Roof stands out for its lightweight design and resistance to harsh weather conditions. According to the National Roofing Contractors Association, over 35% of homeowners prefer synthetic options for their homes. These roofs simulate the elegant look of thatch without the associated maintenance concerns. However, while plastic materials are eco-friendly, the long-term environmental impact remains a topic of discussion.
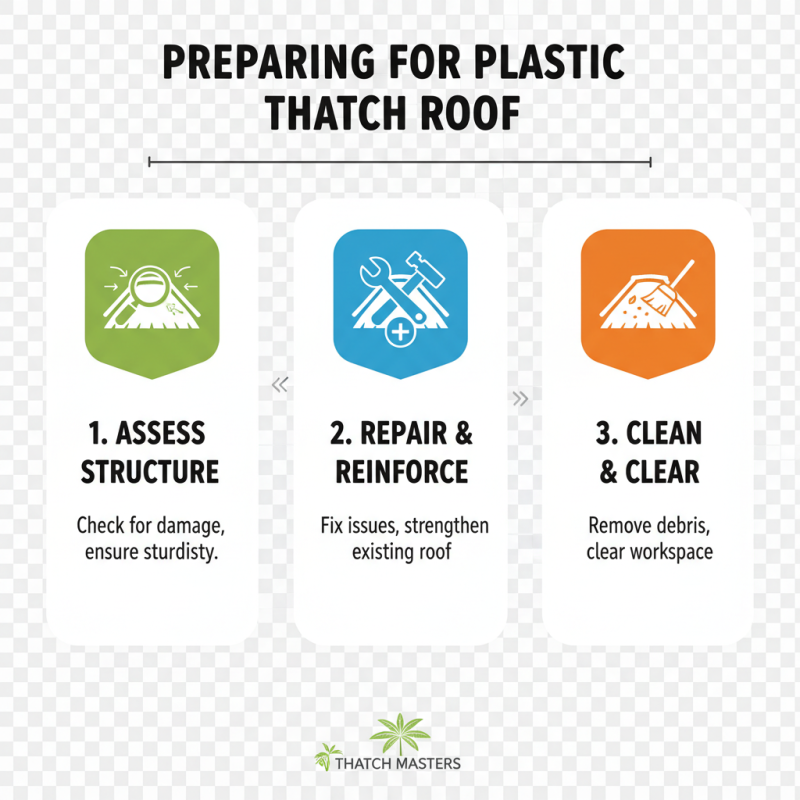
Many homeowners still underestimate the installation process. Although it might seem straightforward, achieving the desired appearance can require skill. This complexity may lead to mistakes and dissatisfaction. Thus, careful planning and understanding of the installation were crucial for a successful outcome. As the demand for plastic thatch roofs grows, so does the importance of education and proper practices in their installation.
Understanding Plastic Thatch Roof Materials
Plastic thatch roofs are gaining popularity in residential construction. They offer an island-inspired aesthetic without the upkeep of traditional thatch. The materials used in plastic thatch roofs mimic natural elements. They provide durability and an appealing design.
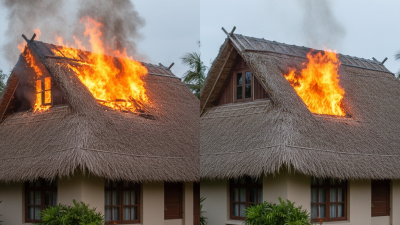
According to recent industry reports, plastic thatch roofs can last over 25 years. They resist harsh weather conditions and UV rays, reducing replacement costs. Notably, some plastic thatch materials have been shown to insulate better than traditional options. However, it’s important to choose a quality product. Not all plastic thatch materials meet high industry standards.
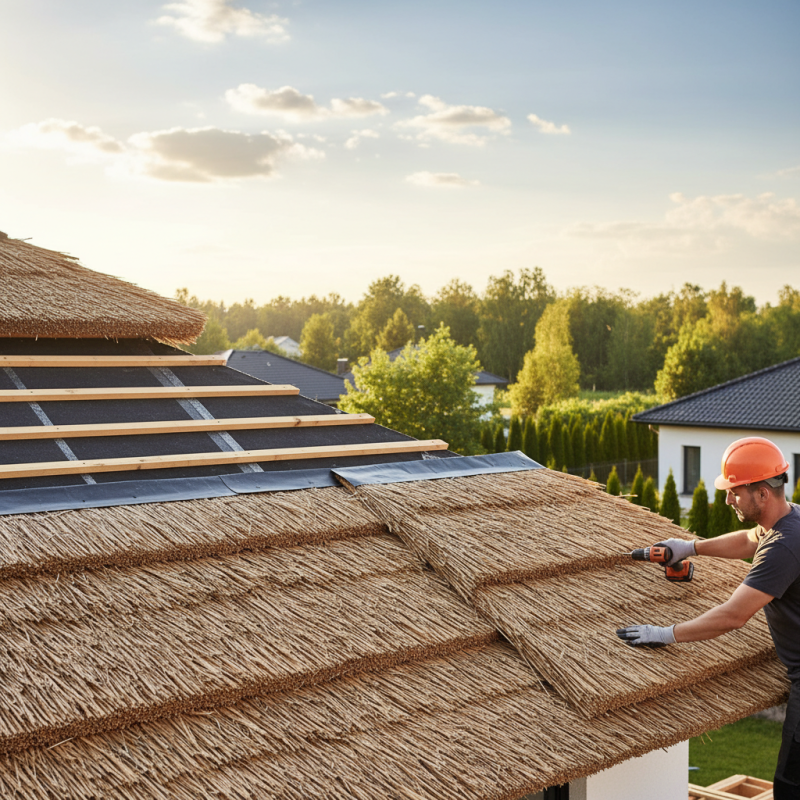
Installation is straightforward, but attention to detail is crucial. A poorly installed roof can lead to leaks and structural issues. Homeowners should consult with professionals when in doubt. Sometimes, DIY enthusiasts may overlook essential installation steps. The longevity of your thatch roof depends on these initial decisions. Make sure to research various materials and installation techniques thoroughly.
Step-by-Step Guide to Installing Plastic Thatch Roof Panels
Installing a plastic thatch roof can elevate your home’s aesthetic. Follow this step-by-step guide for a successful DIY project.
Begin by gathering all the necessary tools. You’ll need screws, a drill, and a measuring tape. Measure the area where the roof will be installed. Ensure that you account for overhangs. It helps to mark these measurements clearly. This step can make a significant difference in the outcome.
Tips: It’s essential to check the weather forecast. Rain can ruin your installation. Also, consider watching video tutorials. They provide visual guidance that can assist you.
Next, prepare the roof frame. Ensuring it’s clean and sturdy is vital. Plastic panels should fit snugly. Gaps can lead to leaks. As you place each panel, double-check their alignment. It’s easy to misplace them if distracted.
Tips: Take your time with adjustments. Rushing can lead to mistakes. Install a few panels, then step back. This way, you can see how they look from a distance.
Finally, secure the panels with screws. Be cautious; overtightening can crack the plastic. Leave some room for expansion. Touch up the edges and your roof will be ready. Enjoy the new look!
Finishing Touches for a Durable Plastic Thatch Roof
When installing a plastic thatch roof, finishing touches are crucial for durability. Inspect the edges and joints carefully. Uneven seams can let moisture in. Use a sealant to ensure a tight fit. This helps prevent water damage over time. It’s an often overlooked step, but it can make all the difference.
Adding a protective coating is another great idea. This layer enhances UV resistance and longevity. Consider a spray or brush-on option for easy application. Remember, not all coatings are equal. Some may wear out faster than others. Therefore, do a bit of research here.
After installation, regular maintenance is essential. Check for loose pieces or damage after storms. Replace any compromised sections as soon as possible. Consistent upkeep may seem tedious, yet it’s necessary for long-term performance. Evaluate your work regularly. Look for signs of wear that might need attention. That's part of owning an outdoor space.
2026 How to Install a Plastic Thatch Roof for Your Home? - Finishing Touches for a Durable Plastic Thatch Roof
| Step |
Description |
Tools Needed |
Estimated Time |
Cost |
| 1 |
Measure the area where the roof will be installed. |
Tape measure, pencil |
1 hour |
Free |
| 2 |
Gather materials and tools for roofing. |
Plastic thatch, roofing nails, hammer |
2 hours |
$300 |
| 3 |
Install the first row of plastic thatch tiles. |
Hammer, ladders |
3 hours |
$100 |
| 4 |
Continue to install tiles in overlapping rows. |
Hammer, utility knife |
4 hours |
$200 |
| 5 |
Secure all edges and apply finishing touches. |
Stapler, roofing adhesive |
2 hours |
$50 |
| 6 |
Inspect for any issues and ensure stability. |
None |
1 hour |
Free |
Maintenance Tips for Your Plastic Thatch Roof
Maintaining a plastic thatch roof can seem daunting, but a few simple tips can make it manageable.
Regular inspections are essential. Look for signs of wear or damage. Check for loose parts that might need tightening. Remove debris like leaves and branches. This helps prevent water buildup, which can lead to leaks.
Cleaning is another important task. Use a soft brush or mild detergent to clean the surface. Avoid harsh chemicals, as they may damage the plastic. With time, algae or mildew may appear. Promptly address these issues with gentle cleaning solutions.
Lastly, don’t forget to monitor the surrounding environment. Overhanging branches can cause scratches. Birds might also be attracted to a thatch roof, leading to potential messes. Cultivating awareness of these factors can help extend the roof’s lifespan. Reflect on your maintenance routine regularly. Adjust it as needed to ensure your plastic thatch roof stays in good shape.